Thursday, December 12, 2019

A picture is worth a thousand mistakes


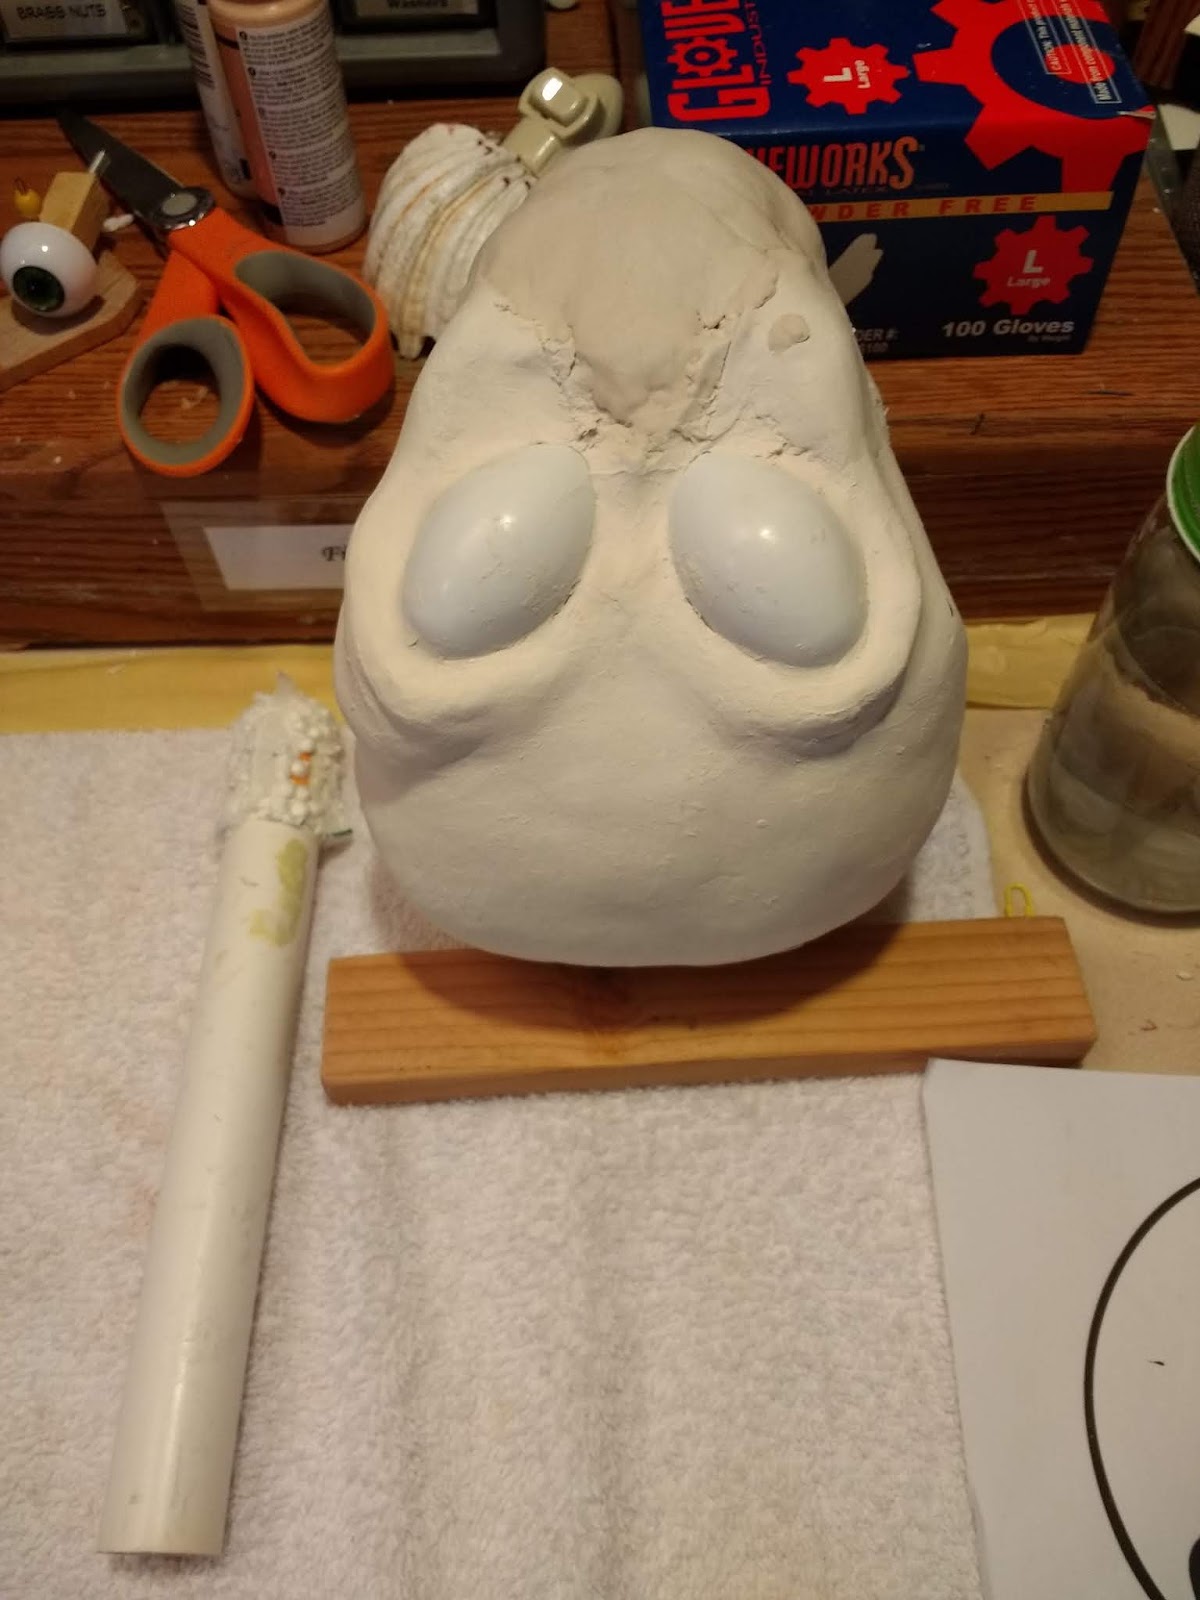
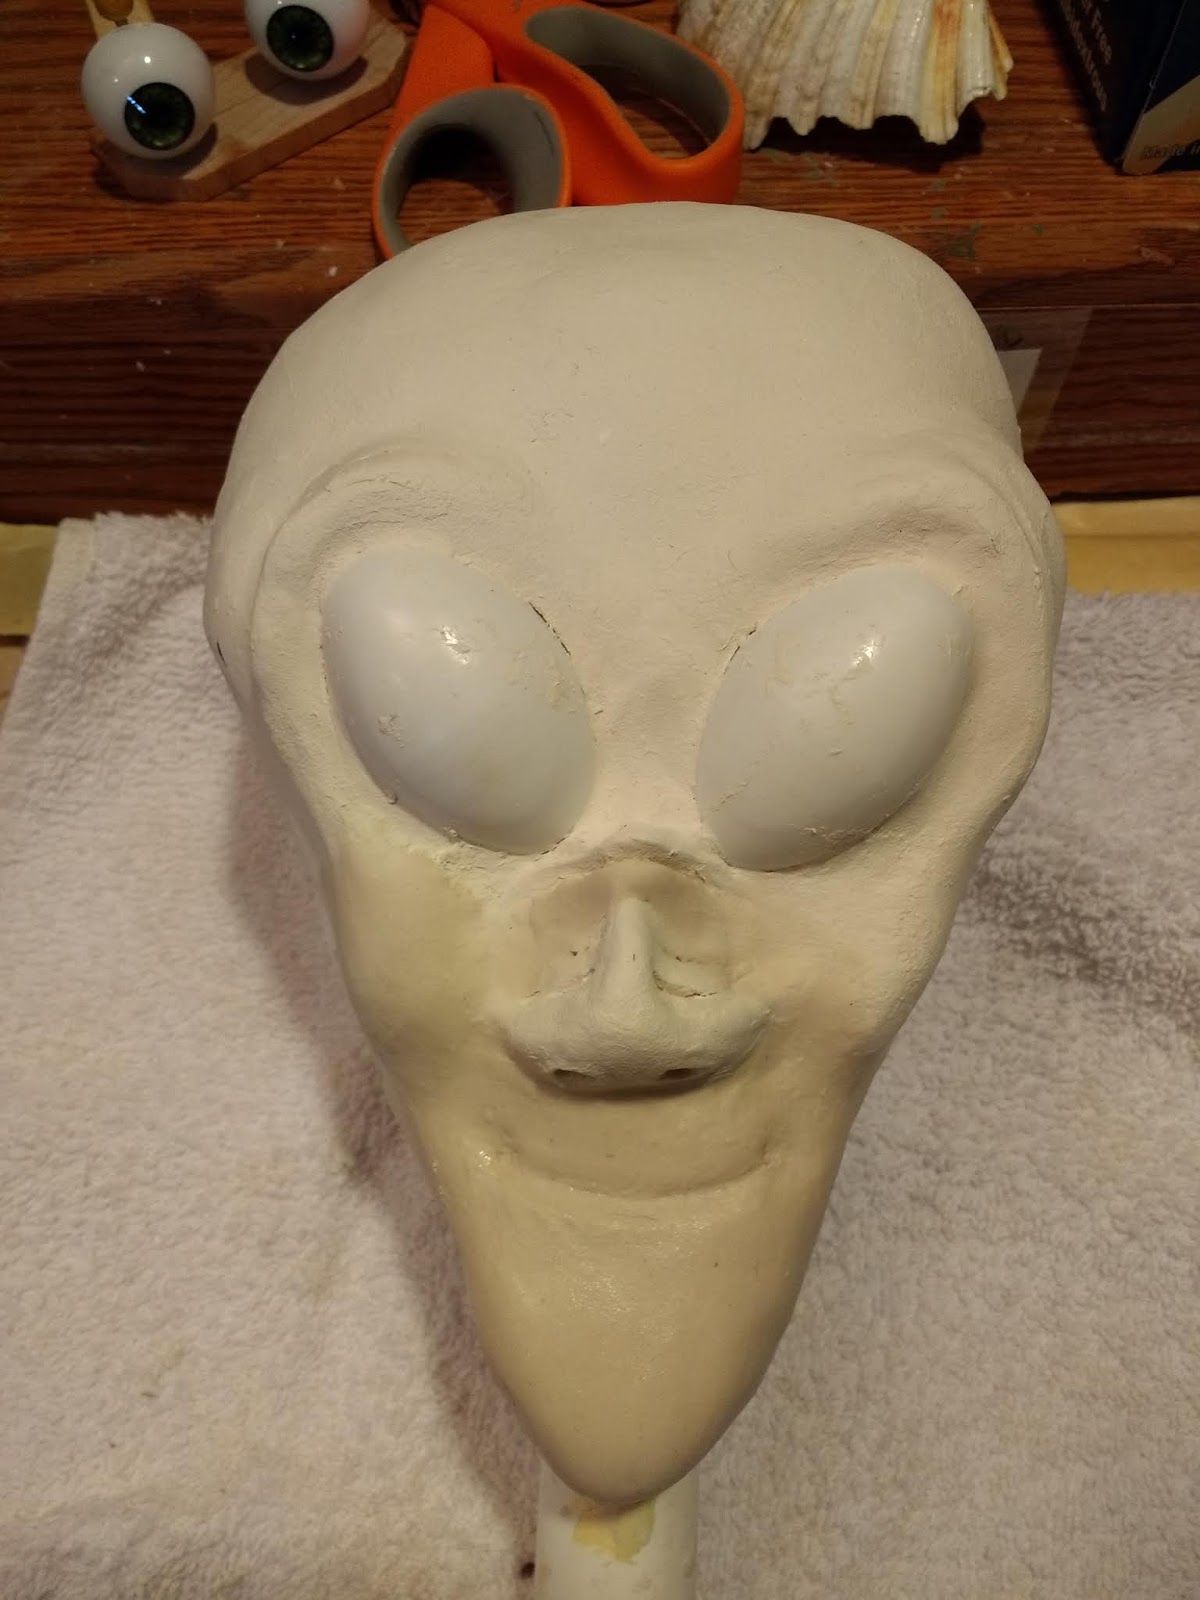
I'm compiling a list of fixes I need to apply to this alien sculpture. The right side behind the eye needs to be taken down. The top-left of the head needs to be built up a bit. I really recommend you photograph your sculptures because they reveal all of the hidden irregularities.

The nose is supposed to have some subtle ridges. I've struggled with how to make them. The wet clay approaches didn't satisfy me. Next, I'll try some dry clay approaches by cutting into the dry clay. If that doesn't work, I'll try a few more wet clay ideas.

Wednesday, December 11, 2019

One step forward, two steps back

I knew I was headed down the wrong road, but you never know when serendipity might open a better pathway. That didn't happen here. 

I've ripped out the nose, mouth and chin and pulled the post from the armature. Luckily I live in Oregon where it takes longer for paper clay to dry. 

I'll re-seat the post farther back in the head. I plan to make the nose flatter and the chin rounder. I also might widen the cheek areas, This will get me closer to the original drawing. 

Tuesday, December 10, 2019

Friendlier

I've added a mouth and chin to my alien. And he's smiling, which means he's friendly... or he's hatching a secret plan to take over the planet Earth and he's 100% sure it'll work.

However, he's turning out a little long in the face compared to the original drawing. I could either continue as he is or widen his cheek and mouth areas.


Time to check with my client and see which way he wants to go.

Either way, I think I'll have to remove the headstick and move it farther back to accommodate the long neck we intend to give him.

Monday, December 09, 2019

Now... don't panic.

They say it's best to NOT to watch the making of laws or sausage. Perhaps we should add the making of an alien ventriloquist figure. I must admit, the alien sculpture is looking kinda gross. Part of the problem is he has no mouth. And then I had to apply some duct tape to re-secure the armature to the post. Ugly, huh?

Believe it or not (I wouldn't blame you if you decided on "not"), this other-worldly feller is supposed to look friendly. Just give me more time.

Each of the ridges on the nose must be applied on a one-per-day basis. The first one must dry completely before I sculpt the next one.

The mouth could actually be added tomorrow... maybe.

Sunday, December 08, 2019

Eye catching

After years of trial and error, trying various products on the market and various ways to prepare them, I found a way to make eyes for 2T and conversion figures. I buy 28mm plastic eyes from a doll supplier. They actually come with a rounded back and small stem, but I don't use the backside. I separate the front half of the eyes.

I fill the interior of the hollow half-shell eyes with a bit of Magic-Sculpt. Then I insert a 1-3/4" length of 3/8"-square piece of wood into the Magic-Sculpt. I use a small probe to scoop the Magic-Sculpt around the wood on all four sides so it grips the wood.

After the Magic-Sculpt hardens, I drill holes in the wood just behind the plastic eyes so that a rotation rod can be inserted on which the eyes will turn. I also drill a hole at the end of the wood so that a spring can be inserted for the self-centering action. Once mounted on an eye tray, I secure the eyes with a small wooden bead. The next step will be to synch the eyes together with a plastic sync bar I buy from Braylu Creations.

Friday, December 06, 2019

Overhead

Making progress. One benefit of examining a photo of a sculpture is to see imperfections not noticed as one works. For example, the right side of the forehead is slightly larger than the left side.  Sometimes these kinds of imbalances can be remedied during sanding. The other option is to add a bit more clay to the left side. Right now I 'm just working to cover the armature in clay to form the basic shape of the head. Then the detail work begins.

Thursday, December 05, 2019

For Sale


My little Asian boy is completed and ready to find a new home. I decided not to add the mustache and chin whiskers because... well... he's just so darn cute the way he is. He'll be for sale on DummyStore.net and Ebay.

His mechanics are simple and smooth. He's a conversion figure with moving mouth and self-centering side-to-side eyes.

His asking price: $450 plus shipping.


Wednesday, December 04, 2019

Nearly done


My entry back into the vent-building biz is starting by finishing the project I left unfinished 5 years ago.  I have two more conversion figures to build before I allow myself to tackle one of my original characters.

This little Asian fellow will also get a mustache, small whisker on the chin and a black braid. I already have the body and beautiful traditional silk-like Asian costume. Mechanics are simple... just a jaw and self-centering side-to-side brown eyes. As soon as he's whiskered, he'll go up for sale.

Tuesday, December 03, 2019

Clay every day


Today I've filled in some cheek areas and some territory on the sides of the head and above the eyes. It's best not to do too much because you risk putting finger dents in wet areas you've already worked on as you work on new areas. When that starts happening, it's time to stop for the day.

Monday, December 02, 2019

Hey, it's clay

This was even more fun than I thought it would be. I've laid on the first layer of paper clay on my alien figure sculpture. I have created a good foundation for the eyes and nose. I'll be putting on more nuanced wrinkles and facial textures. This will dry overnight, then more fun tomorrow.


Sunday, December 01, 2019

My... what big eyes you have

I know this photo looks a lot like a previous photo, but there is a difference. The eyes are actually attached. I also decided that the front should be the back and the back should be the front.

I used Tacky Glue to attach them. I plan to start the application of paper clay around the eyes to secure them better.

A new part of the plan is to give this alien vent figure a long thin neck.

Friday, November 29, 2019

Filled the bill

The Locktite Foam worked. It expands as I was warned. In fact, it expanded even more than I expected. After it dried, I used a pair of old scissors to chop away the excess. My goal in this was to fill the voids so I wouldn't have to use so much paper clay. The bulging alien eyes aren't actually attached yet. I just wanted to show you for effect.

Tomorrow, the paper clay application starts... well... soon anyway.


Thursday, November 28, 2019

See foam

My idea of filling the cavities on my armature with wadded-up plastic bags, then using duct tape to secure them was a failure. Not my first dumb idea and likely not my last.

My new strategy is to fill them with Loctite foam..the stuff used to seal cracks in walls and window frames. I have been advised by the fella at the hardware store to be very conservative with how much I spray into the cavity. Y'see, the foam expands... a lot! He said he once used it to seal a crack in a wall. He sprayed too much of it, it expanded and blew a BIG hole in the wall.

If it works, I'll post a photo. If it doesn't work... well.. on to my next bright idea.

Tuesday, November 26, 2019

My new website

Here's the new website I launched. DummyStore.net. It's a listing service for folks who want to buy or sell ventriloquism or puppetry items. I charge a modest listing fee of $10 for items priced $100 or more, and $5 for items priced under $100. But for a limited time, ALL LISTINGS ARE FREE! I'd like to attract a large number of listings so buyers will find a selection of cool items to purchase. Please give it a look and by the way, feedback is appreciated!